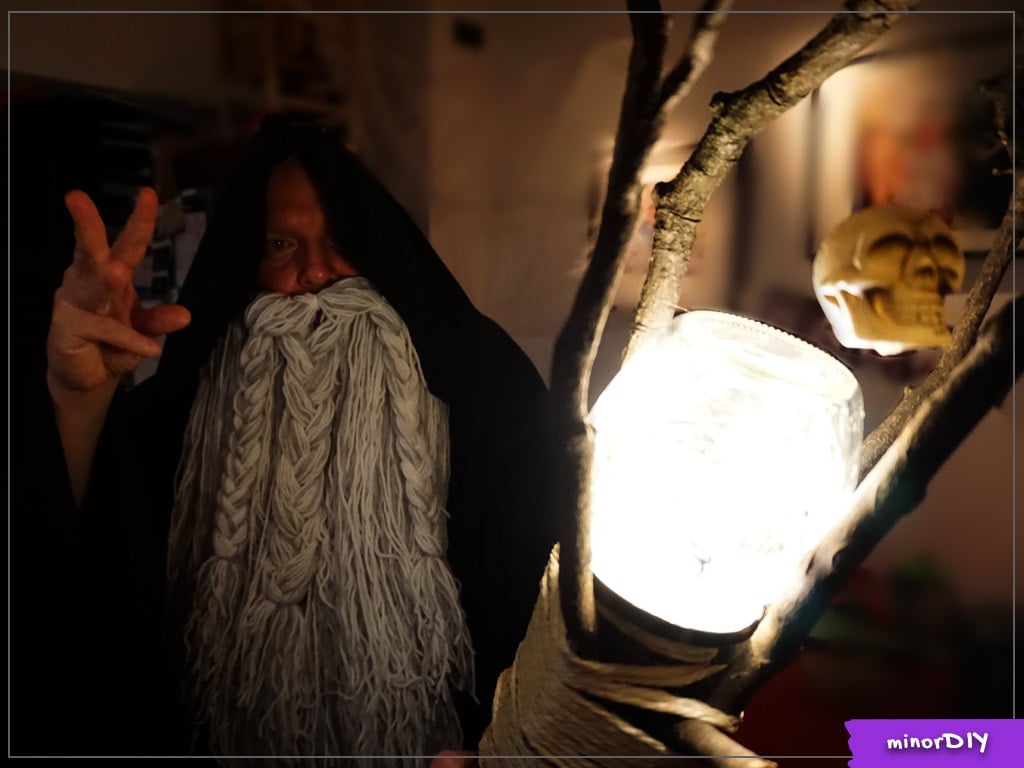
It’s spooky season! Learn how to make a glowing wizard staff with this easy step-by-step tutorial. I’ll show you several different ways to make your DIY wizard or sorceress staff light-up.
Ready to level-up your Halloween costume with a magical glowing staff?
To make your own glowing wizard staff, you only need five basic materials.
#1 – a big stick (I don’t think you can order these on Amazon….. yet.)
#2 – battery-operated light (these are my favorite, but see below for other options)
#3 – container to hold the lights (small clear fillable ornaments are good for multiple small orbs; use jars for large lights)
#4 – material to diffuse the light (like plastic wrap, Press ‘n Seal, or tissue paper)
#5 – twine, ribbon, or tape to hide the base and/or battery pack
* Links to products are for your convenience in finding tools and materials, however, they are affiliate links.
As an Amazon Associate, I earn from qualifying purchases. *
Step 1 – Make the base staff.
Find a long stick with a fork. (This could be a challenging part, depending on where you live.)
For extra wow-factor, make your DIY staff as tall or taller than you are.
(Remember you’ll be carrying it around with you all night… so don’t pick one that’s too heavy.)
Pick up some extra sticks to help cradle the main glowing orb. You might not need them, depending on how you end up making your glowing staff.

Step 2 – Choose which type of light you’re going to use.
Fairy lights are easy to get, especially when the Christmas decorations arrive on store shelves at the same time as Halloween gear does.
Small LED lights also work really well!
Flameless candles are an option, but they don’t seem to be as bright as the other options. Mine are tea lights, so maybe that’s why they aren’t very bright?
But…. maybe you could have a large candle on your staff. (I wouldn’t put the candle in a container; just on a base. We’re talking flameless candles though. No real fire.)

I recommend these lights!!
They’re super inexpensive (you get 100 for about $15) and very small.
They can easily fit into any container you’re using.
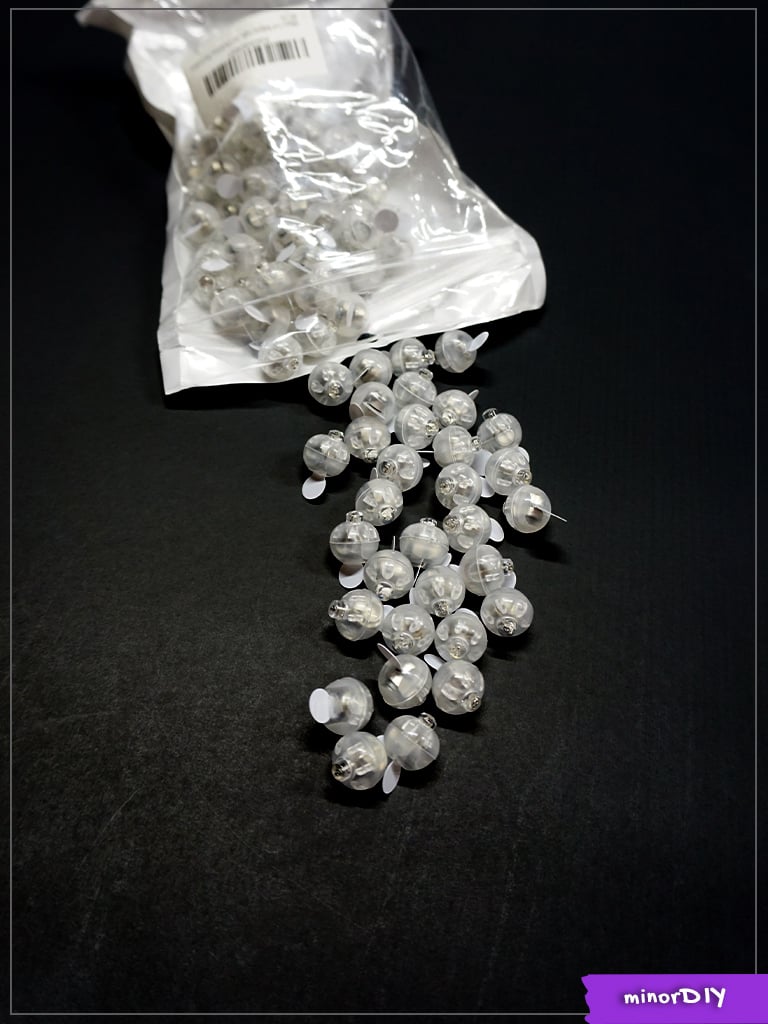
How do they work?

To turn them on, simply pull out the cardboard tab.

To turn them off, just insert the tab again.
They’re made to be one-time use, but you can actually use them many times.
I love these things! They are bright and colorful and perfect for your light-up wizard staff.
Step 3 – Find a clear container to hold your lights.
Plastic containers are best…. your staff will be top-heavy and might crash to the ground at some point. (Yes, I’ve had to clean up broken glass from my glowing sorceress staff. Not ideal at a party.)
I like a smooth surface. Often there are markings on the sides of the containers or jars, with measurements or brand names. Try to find a mostly-blank one.
Some examples of containers I’ve used:

Step 4 – Diffuse the LED by putting material on the side of the container.
I think that the glowing lights look more magical if they are diffused. The light seems to fill the container much more this way.
The easiest way to get this “frosted light” look is to wrap your container in Press’n Seal. Let the material wrinkle and overlap – it looks amazing!

Step 5 – Create the biggest glowing orb first.
Below is the easiest staff I’ve ever made!
I covered a Ziplock container with Press’n Seal, threw in four LED lights, and put the lid on.

Just put a few drops of hot glue on the branches that are supporting the container in, and you’re ready to go!
I would also cover the blue lid with twine, ribbon, or even electrical tape.
Step 6 – Attach the container to the staff
Usually, you want to be able to turn on and off the lights.
One way to achieve this is to attach only the lid to the staff. This way, you can just twist the jar on and off to access the lights.
Depending on your stick, you may be able to screw the jar onto the stick.
This is the first staff I made – my husband screwed several sturdy sticks together and screwed the lid onto the staff.
I put fairy lights (with the battery box covered in tin foil) in the jar.
Then, I wrapped the lights with extra blue netting from my costume and put them in the jar.
The material diffused the light, so it looked like my staff was pulsing and glowing blue. Several people asked how it did that.

Another option for attaching the light to the stick is to use twine.
In this example, I just wrapped the twine around the jar like I was putting ribbon on a present.
Then I tied a small loop on the top, and simply hung it on the stick.
Super easy.
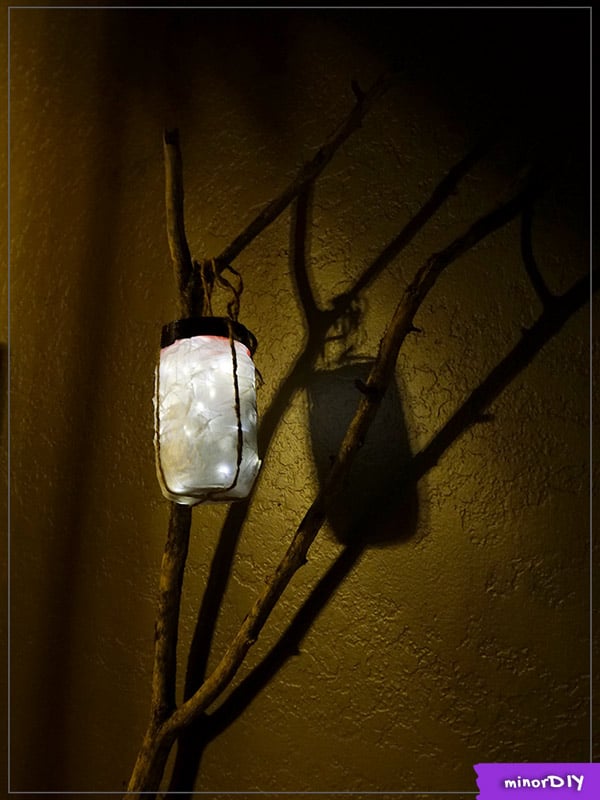
Materials used:
– peanut butter jar covered with Press’n Seal
– fairy lights, with the battery box wrapped in aluminum foil
– black tape covering the lid
** If you want to put the battery box into the jar, it needs to have a very wide mouth.

Step 7 – Hide any ugly parts
Seeing the battery box or a bright red lid spoils the magical look!
If it doesn’t fit in your jar, hide the battery box by wrapping twine all around it.
Hot glue or duct tape branches to help cradle the lights if needed, then hide those with wrapped twine too.

How to add multiple glowing orbs to your magical staff
This year I wanted to create something with MORE magical floating glowing orbs!

What material inside gives a nice glow?
I don’t want to see what is actually making the light inside.
I want to believe that it’s just magic. (It’s Halloween. Anything is possible!)
Below are a few materials I’ve tried and the resulting glow.

All of these materials are inside fillable plastic ornaments with LED balloon lights.

My favorite is the light surrounded with plastic wrap.
So, I’m going to make a staff using just that.
Materials needed to DIY a glowing wizard staff
Clear fillable plastic ornaments
Plastic wrap (or other semi-transparent material
Jute twine (I prefer the chunky 3 or 4mm)
* Links to products are for your convenience in finding tools and materials, however, they are affiliate links.
As an Amazon Associate, I earn from qualifying purchases. *

How to make a light-up staff for Halloween
Crumple up a piece of plastic wrap. I prefer it to really fill up the empty ornament.

Next, take the LED bulb and arrange the plastic wrap around it. (You can skip this step if you’re making your glowing staff ahead of time. Just don’t forget where the LEDs are.)

Close the other side of the ornament around the light and plastic wrap.
The LED light should be at the bottom of the ball, with the light facing up.

Use clear fishing line to hang each bulb from a stick.
After I tied and trimmed it, I used a lighter to melt the ends together so they wouldn’t come untied and slip off.

I decided to try making a ball of lights without a base.

I put the LED fairy lights in a big, crumpled ball of plastic wrap.
Then, I added one layer of plastic wrap to hold the whole ball together.
It does look really neat!

I still need to finish hiding the battery pack. I might add black ribbon and rhinestones to match my costume better.

A friend gave me these skeleton hands – they’re actually tongs from Dollar Tree!
I think it would look great if the hands were holding the main orb. Maybe I’ll add those too….

I hope this tutorial has inspired you with different ways to make your own magical, glowing witch or wizard staff!
Don’t want to forget this?
Save it for later by pinning it on Pinterest.
Click the image below to Pin it.

nicole says
Great ideas!! It’s been a year since this article was posted and this year dollar tree has battery operated galaxy lights. I bought one to use as my “crystal ball” for a fortune tellers costume.
Emily says
Yes!!!
When I made my first version, I was in Belgium and fairy lights were the only thing available. I’m all about the easiest way that looks good. 😀
Anonymous says
So creative. Thanks for sharing.
YVONNE says
awsome